How to Use the Touch Up Combo Essential KitUpdated 15 days ago
This is how to use the Touch Up Combo Essential Kit. Follow these instructions to achieve the best results using a Touch Up Combo Essential Kit.
The combo applicator is a unique touch up tool with dual applicators, a brush on one end and a pen on the other. The dual applicators enable more types of repairs to be performed successfully.
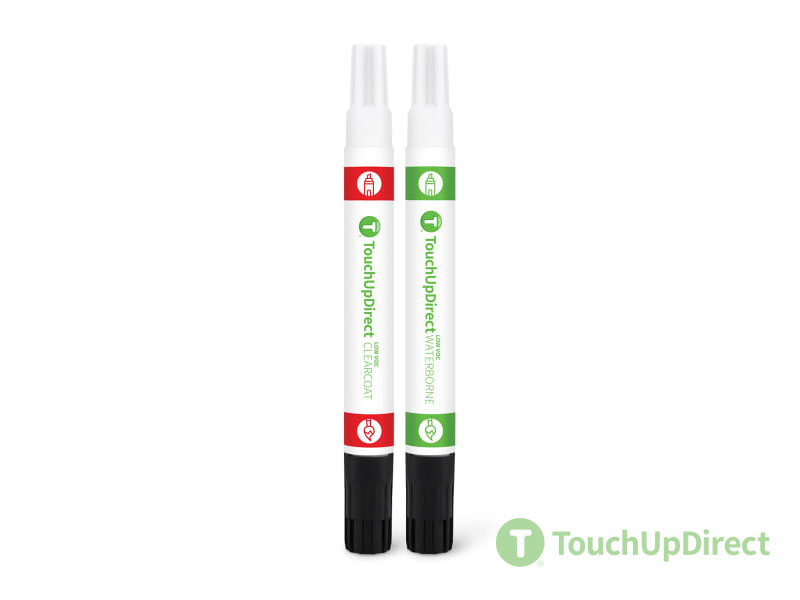
The Touch Up Combo Essential Kit includes
- Color
- Clearcoat
You will need to provide all other items listed in the instructions below.
BEFORE YOU START
If the color doesn’t match, pause the application and contact us through our Color Match Guarantee for assistance.
Paint is best applied in temperatures around 70 degrees Fahrenheit. Do not apply in direct sunlight.
Prior to beginning your touch up job, determine which side of the combo applicator you will be using. Continue using the selected applicator for each step in the process, i.e. if you determine you need to use the brush, use the brush for all steps.
The pen and brush ends serve different purposes. The pen is best for tiny stone chips, fine line scratches, and anything where you need to minimize the amount of paint you are applying. The brush end works best for slightly larger scratches where more paint is needed. We recommend practicing with both sides of the included test card to help determine which applicator is best for your project.
PART 1 - Prepare the Surface: Cleaning
Approximate time to complete*: 15 Minutes
What you need for PART 1:
- Soap and water
- Clean the entire vehicle or part with soap and water to remove surface dirt. Make sure to rinse and dry the surface thoroughly.
- Assess the exposed areas of the damage.
PART 2 - Apply Colorcoat
Approximate time to complete*: 30 Minutes
What you need for PART 2:
- Colorcoat (included in Essential Kit)
- Shake well.
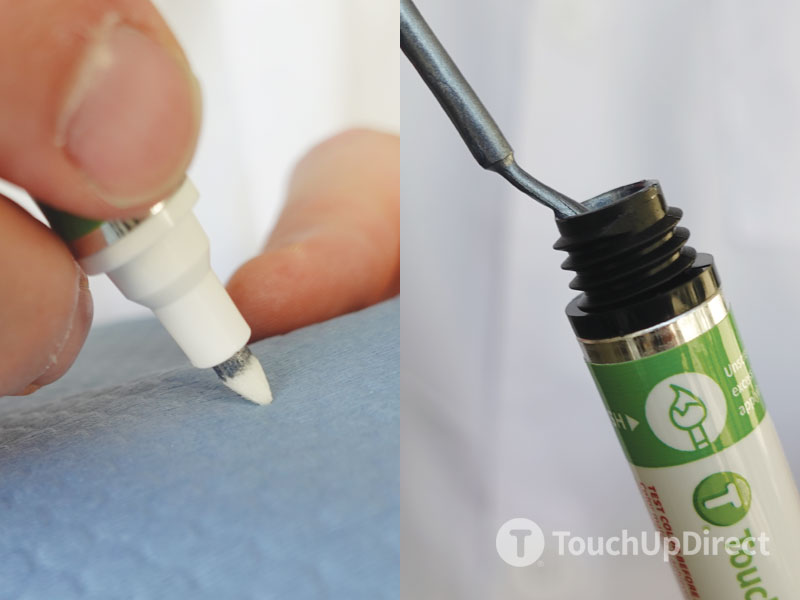
- Determine which end of the combo applicator you will be using -- brush or pen. If you require a brush, unscrew the black brush cap of the applicator to open. If you need a pen, remove the white cap on the other end by twisting and pulling.
Using the pen
If this is the first time using the pen, there will not be any color showing on the pen tip until it has been primed.
- Prime the tip of the pen by pressing the pen tip down onto a soft surface several times. Use a firm but gentle force to avoid damaging the pen tip. Paint should saturate the tip within 3-5 pumps of the tip into the pen. If excess paint builds up on the pen tip, wipe with a soft cloth.
- Using the pen, lightly dab paint onto the area to be repaired. Apply one coat evenly with this dabbing motion and allow it to dry for 15 minutes. Avoid applying paint outside the area to be repaired.
- Repeat step 2 until the repair area is evenly and thoroughly covered, usually 2-3 coats. If your color is a tricoat, repeat step 2 using the applicator labeled “Midcoat”, also for 2-3 coats.
- Replace the cap tightly when finished. Make sure the cap is secured well for proper storage of the combo applicator before your next use.
Using the brush
- Remove excess paint by lightly dragging the brush along the inside opening as you remove it from the container.
- Apply evenly over the damaged area. Allow to dry for 15 minutes. Avoid applying paint outside the area to be repaired.
- Repeat step 2 until the repair area is evenly and thoroughly covered, usually 2-3 coats. If your color is a tricoat, repeat step 2 using the applicator labeled “Midcoat”, also for 2-3 coats.
- Screw cap on tightly when finished. Make sure the cap is secured well for proper storage of the combo applicator before your next use.
PART 3 - Apply Clearcoat
Approximate time to complete*: 30 Minutes
What you need for PART 3:
- Clearcoat (included in Essential Kit)
- Shake clearcoat well.
- Use either the pen or brush side to apply your first coat of Clearcoat. The first coat should have thorough, even coverage. Allow to dry for 15 minutes.
- Repeat step 2 for up to 4 total coats. Do not exceed four coats.
- Clearcoat will be dry enough to handle within 30 minutes after last application. Allow to dry for a full 48 hours before wetsanding, polishing, or waxing.
⚠⛔⚠ DO NOT wet sand or polish matte finish clearcoats — this will permanently damage the matte finish by making it glossy.
* Actual implementation times may vary