Prep SandingUpdated 4 days ago
Prior to painting, some projects require sanding. The types of projects that require sanding include:
- All aerosol spray projects and professional size projects
- Some, but not all, touch up pen, brush, or combo projects
Touch Up Pen, Brush and Combo
If you are using a touch up pen, brush, or combo applicator, you only need to sand if the area being touched up is very rough. Very rough refers to issues like a deep gouge that has damage far down into the surface, rough or uneven bare plastic, or metal that has rusted. If you have a rock chip, fine scratch, or any other type of minor damage, sanding is not necessary.
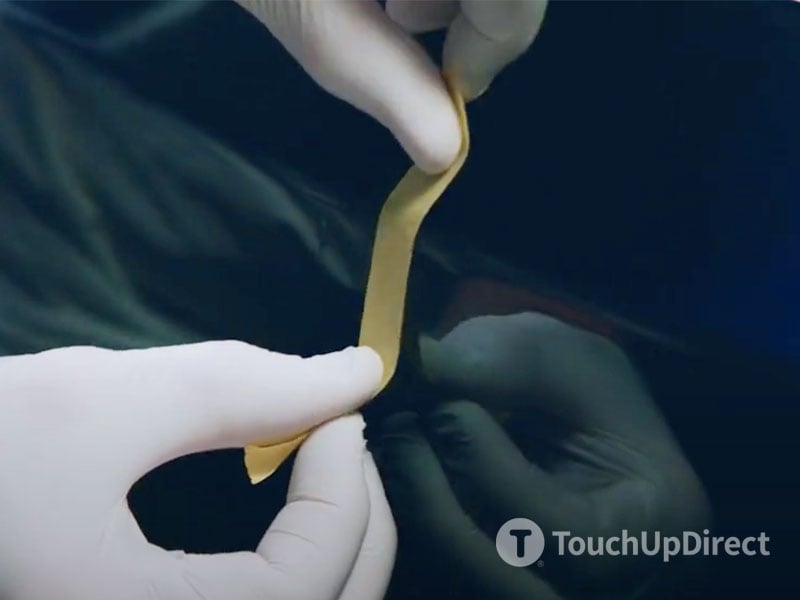
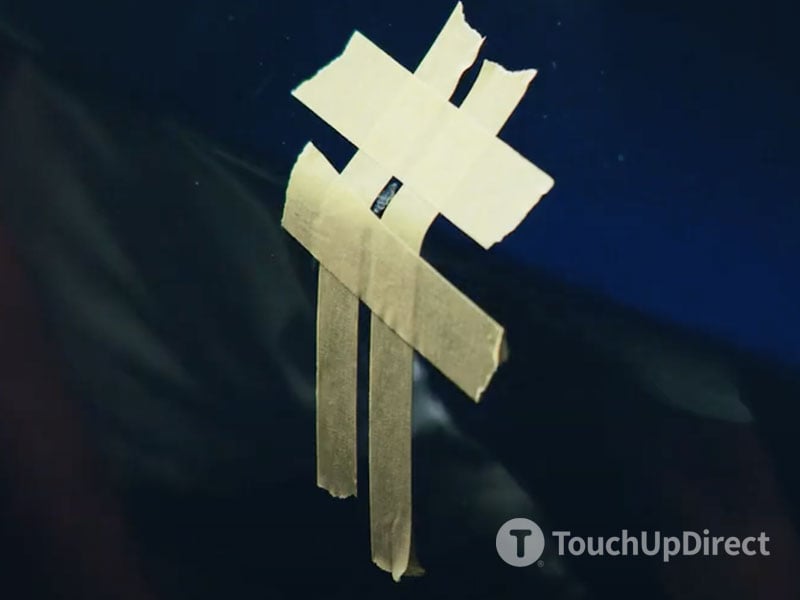
Sanding is a delicate process when working on a very small area. We recommend taping off any area that you do not want scuffed by the sandpaper to minimize damage outside of the actual scratch you are working on.
- Clean the surface thoroughly.
- Tape off the area surrounding the damage. This will protect your vehicle from unintentional sanding beyond the scratch.


- Use 800-1000 grit sandpaper to smooth out the damaged area, working in short, even strokes. You can use the sandpaper wet or dry for this step. If wetsanding, have a cup of water nearby and continually dip the sandpaper in the water between sanding.
- When the entire working area is smooth to the touch, clean the surface again using wax and grease remover. You are now ready to use primer or filler putty.
TIP: Do your best to remain inside the damaged area and not sand the paint that is still in good condition. If sanding a very small area it may be useful to fold the sandpaper in half and just use the folded edge. This can allow you to remain in the scratch.
Aerosol
Scenario 1:
If damage has exposed bare metal, plastic, fiberglass or any other substrate, begin here. A good paint job begins with good preparation. If you can see scratches or any imperfections in the surface after sanding, those imperfections will be visible after painting.
- Clean the surface thoroughly.
- Tape off the area surrounding the damage. This will protect your vehicle from unintentional sanding beyond the scratch.
- Use 800-1000 grit sandpaper to smooth out the damaged area, working in short, even strokes. You can use the sandpaper wet or dry for this step. If wetsanding, have a cup of water nearby and continually dip the sandpaper in the water between sanding.
- You are now ready to use primer (for very minor scratches) or filler putty (for deeper scratches).
- If you are planning to paint outside of the damaged area for blending, you will also need to sand or “scuff” any area that will have paint color or clearcoat applied to it. Paint will only adhere properly to existing paint if it is scuffed first.
TIP: If heavily gouged, indented, or scratched you may need to start with 400-600 grit sandpaper. 400-600 grit will cut quicker through more severe damage. After using 400-600, go over the sanded area with 800-1000 grit to remove any sanding scratches left by the 400-600.
Scenario 2:
If the damage has not exposed any bare metal, plastic, fiberglass or any other substrate, and you are only performing a color change, begin here. A good paint job begins with good preparation. If you can see scratches or any imperfections in the surface after sanding, those imperfections will be visible after painting.
- Clean the surface thoroughly.
- Tape off the area surrounding the damage. This will protect your vehicle from unintentional sanding beyond the scratch.
- We recommend wetsanding for this step. When wetsanding, have a cup of water nearby and continually dip the sandpaper in the water between sanding. Use 800-1000 grit sandpaper to scuff the entire area you will be repainting. Use an even, smooth circular motion and gently cover the entire area.
- The sandpaper will begin to leave white residue as you wetsand. This is normal and the desired effect. You only need to scuff the clearcoat, so be cautious not to sand too hard or deep. Be careful around edges, it can be easy to sand through them. If you sand through any area, you will need to apply primer to that area.
- Use a towel to dry the sanded surface and inspect. If you see any areas that remain glossy, wet sandpaper again and scuff the glossy area using the same even, smooth, circular motion.
- When the entire surface has been scuffed, clean it again using a wax and grease remover. The surface is now ready for paint.