
How to use TouchUpDirect Polishing KitUpdated 7 months ago
TIPS: Avoid Burn Through
Step 1 requires some patience and finesse. We’ve designed the Sanding Pad to be safe to use on any gloss finish and minimize the risk of “burn through,” but it can still happen. Go easy in Step 1, do not apply too much pressure on the Sanding Pad, often inspect, and repeat as necessary.
STEP 1: Smooth out the top layer of Clearcoat
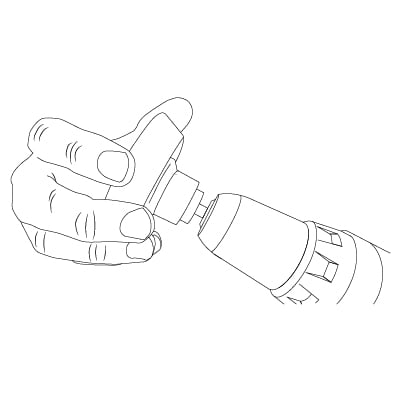
The TouchUpDirect Sanding Pad is designed to smooth out the micro unevenness on your Clearcoat finish.
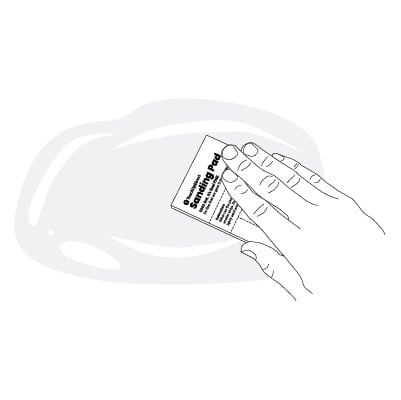
Dip the Sanding Pad in a cup of water and thoroughly wet it. Continue this process as you are wet sanding. |
|
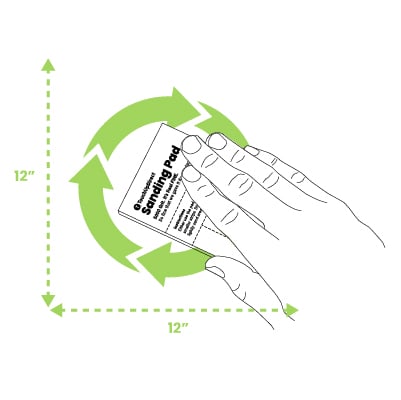
Lightly rub the Sanding Pad on the painted surface in a circular polishing-type motion. Work in small sections at a time no larger than 12”x12”. |
|
As you continue this step, the water will begin to turn milky. This is normal and expected. |
|
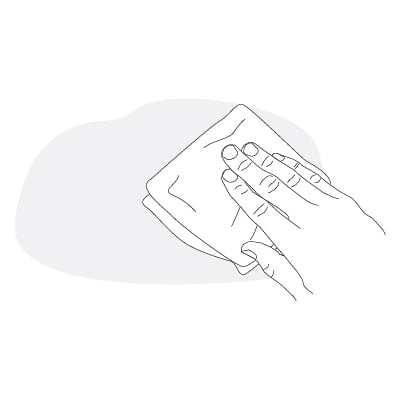
Wipe the surface down with a microfiber cloth to remove dust and water. The surface should look dull and cloudy. |
|

TIPS: Repeat for the best result
The duration of Step 1 depends on each project. The goal is to wet sand until you achieve a smooth surface. If you want a glossier and smoother finish after Step 2, the good news is that you can always repeat Step 1.
STEP 1.5 Prep your drill
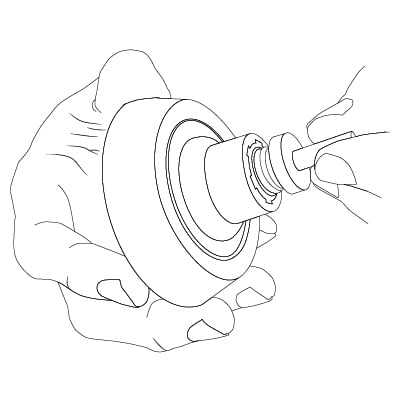
Attach the backing plate to the drill extension. |
|
Attach the drill extension to your drill. Make sure it’s tight |
|
STEP 2: Gloss Restorer
TIPS: No Flinging Off
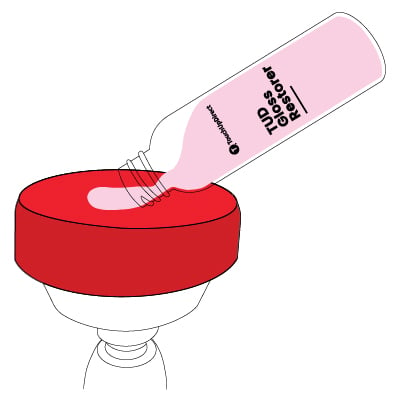
Gently smear the Polishing Pad with Gloss Restorer onto the area to be polished (this helps eliminate the Gloss Restorer from flinging off when the drill is activated).
Velcro the Red Polishing Pad to the Backing Plate. Squeeze a dime-size drop of Gloss Restorer onto the center of the Red Polishing Pad. |
|
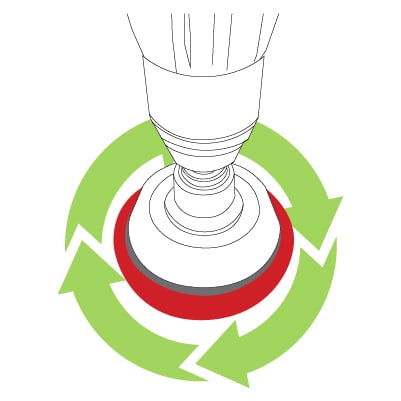
Activate the drill in its faster setting and, with medium pressure, completely work the entire area that needs the gloss restored. |
|
Use the Gloss Restorer liberally, and reapply around every 20 seconds using the Red Polishing Pad. It is important to keep the Polishing Pad feeling damp. Continue until the gloss is fully achieved. (2-3 min of the 12”x12” area) |
|
TIPS: Inspect the Result
Now is the time to inspect the area to see the finish. If you still see roughness, texture, or small blemishes, repeat Steps 1 & 2. Once you're satisfied with the overall smoothness and gloss of the finish, please go ahead and go to Step 3.
STEP 3: Final Finish
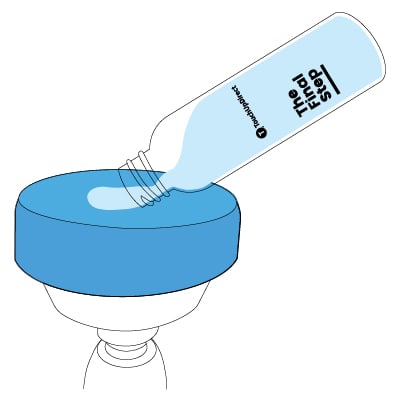
Switch to the Blue Polishing Pad. Squeeze a dime-size drop of Final Finish onto the center of the Blue Polishing Pad. |
|
Activate the drill in its faster setting and ultimately work the entire area with medium pressure. (10-15 min). Wipe off excess polish with a Microfiber Cloth. DONE! |
|

FAQ
- Recommended pressure: press the pad down to about 3/4” from 1”.
- The Polishing Kit will not remove hard tape or paint lines from a paint project.
- The Polishing Kit will remove mild imperfections from weather, age, water spots, or overspray.