
How Do I Use a Touch Up Pen?Updated a year ago
This is how to use your TouchUpDirect Touch Up Pen Applicator. Follow these instructions to achieve the best results using a Touch Up Pen.
- Shake well.
- Remove cap from pen. If this is the first time using the pen, there will not be any color showing on the pen tip until it has been primed.
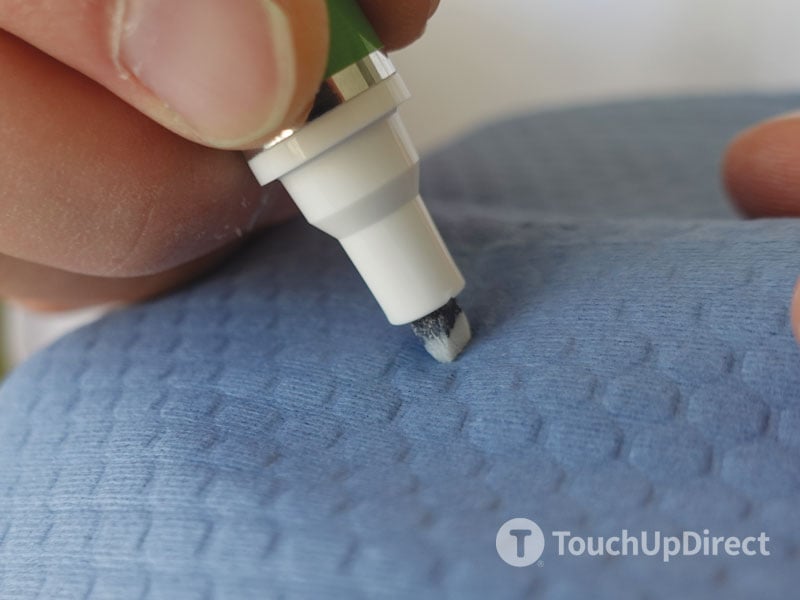
- Prime the tip of the pen by pressing the pen tip down onto a soft surface several times. Use a firm but gentle force to avoid damaging the pen tip. Paint should saturate the tip within 3-5 pumps of the tip into the pen. If excess paint builds up on the pen tip, wipe with a soft, clean cloth.
- Using the pen, lightly dab paint onto the area to be repaired. Apply one coat evenly with this dabbing motion and allow it to dry for 15 minutes. Avoid applying paint outside the area to be repaired.
- Repeat step 4 until the repair area is evenly and thoroughly covered, usually 2-3 coats. If your color is a tricoat, repeat step 4 using the applicator labeled “Midcoat”, also for 2-3 coats.
- Replace the cap tightly on the pen when finished. Make sure the cap is secured well for proper storage of the pen before your next use.
IMPORTANT
Paint is best applied in temperatures around 70 degrees Fahrenheit. Do not apply in direct sunlight.
Before any touch up paint project, always test your color with the included test card. Apply the color and clearcoat onto the test card using the directions above. Compare the color applied on the test card with the color on the vehicle to be painted. If the colors match, proceed with painting. If the colors do not match, stop and contact us immediately.